Latest stories

1

All stories

How to setup and film a green screen video

Chroma keying is an incredibly powerful tool in the video industry. From creating a background for an interview to compositing Iron Man into an other-worldly scene, a chroma key background is the first step. 

Chroma keying is an incredibly powerful tool in the video industry. From creating a background for an interview to compositing Iron Man into an other-worldly scene, a chroma key background is the first step. 

Chroma Key Color

The color of your key must be most opposite to the colors in your subject to achieve the best key. Green is a standard for keying because it is nearly opposite the hues that make up the majority of most objects and skin tones: red, brown, orange, and yellow. Blue is also an alternative standard because its hue is opposite to the oranges and yellows of skin tones. A set like that of the Game of Thrones would employ blue chroma backgrounds as their subjects wore brownish leather, cloth, and metals in their action scenes. We use green chroma backgrounds because our interview subjects often wear some shade of blue, so it’s much easier to tell a subject in the video not to wear anything green than blue.

Chroma Key Material

Chroma backgrounds come in cloth, paper, and vinyl. Out of those three, cloth will be your cheapest option, but it will be very prone to wrinkling and may not be opaque enough in some situations for a great key in post. Vinyl is the highest quality option. It can be cleaned, will last the longest, and absorbs more light than it reflects. Finally, paper is a good balance of quality and price. A high-quality paper roll will last a long time if stored properly after use and will give you a very reliable key in post. The problems with paper are that it can wrinkle easily if misused, and it reflects light more than it absorbs. We’ve used all three materials listed above, and we choose to use paper chroma backgrounds in our studio. 

Important Considerations When Filming

The quality of your key in post-production is directly related to the quality of your production. Therefore, the goal is to create the best situation to remove the chroma color from your footage later in post-production. The following are some production tips to help avoid problems that can add hours to your keying workflow: 

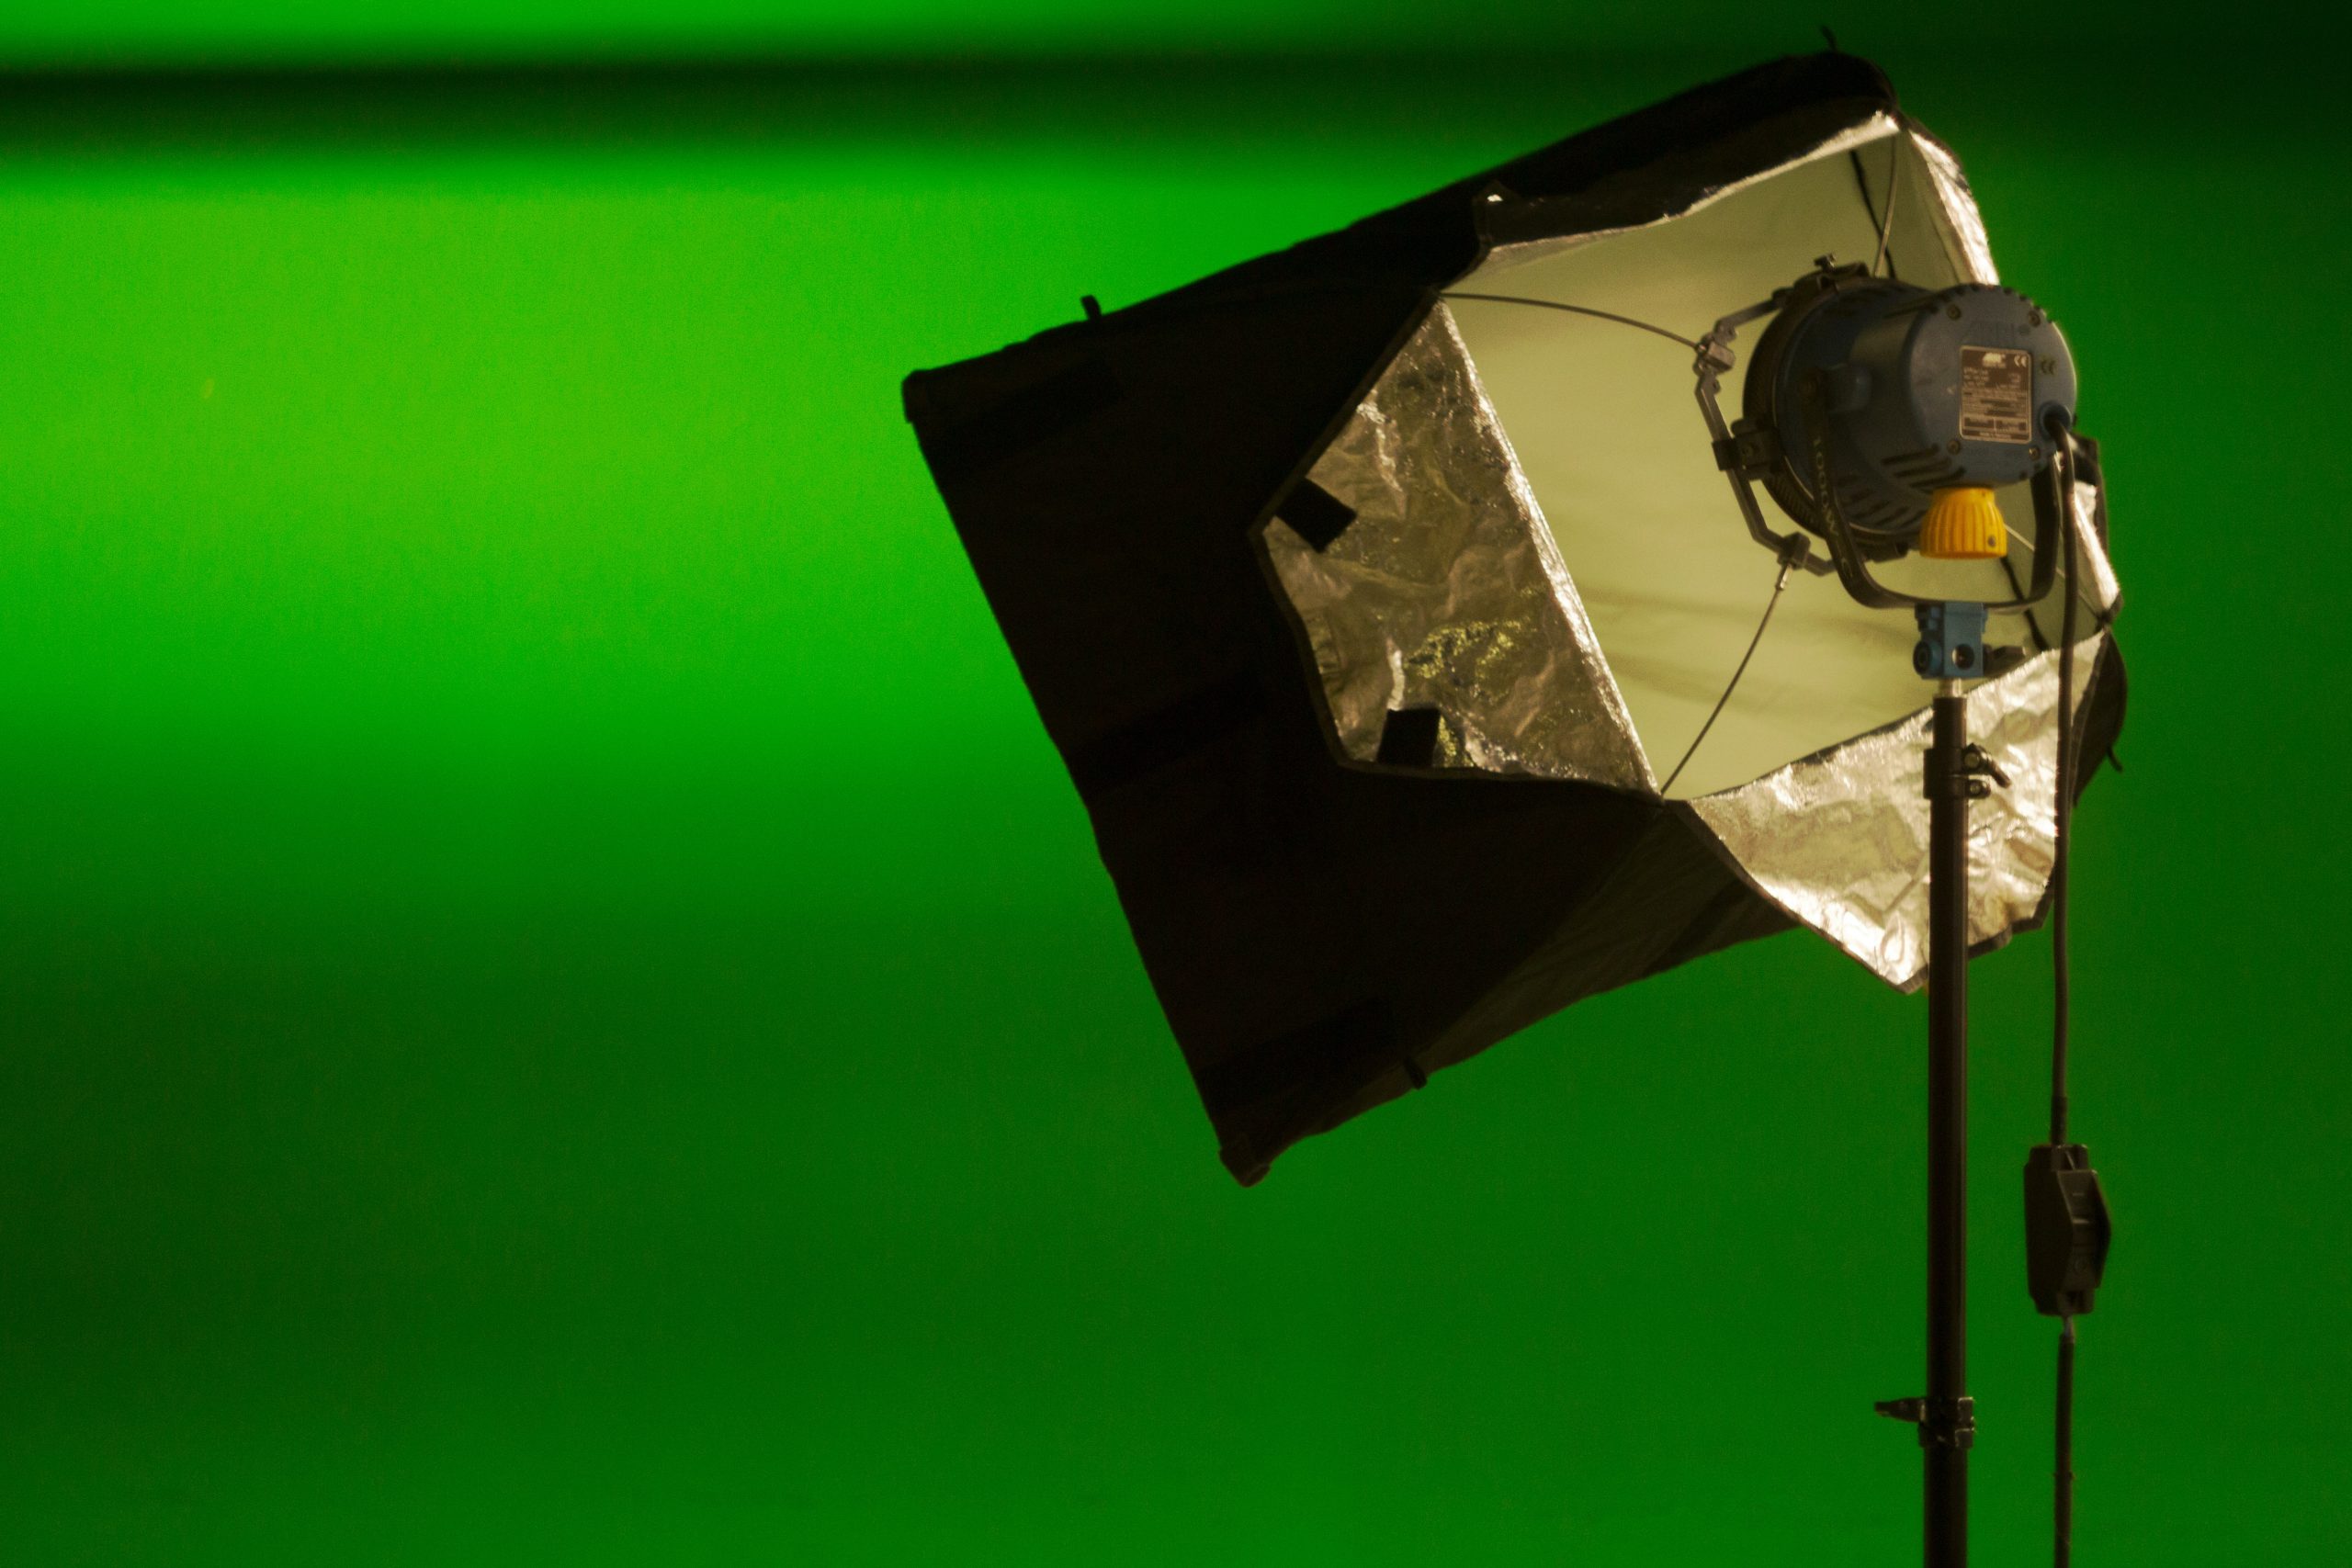
  • Light your backdrop – Ensuring that your backdrop is evenly lit and well exposed is the most crucial consideration when filming on a chroma background. Dimly lit backgrounds can appear more grey in areas where they should be bright green or blue, giving your renderer a more demanding job deciding which pixels to remove. The better exposed your background is, the more color contrast there will be on the edges of your subject, which will increase your key quality. A nicely lit green or blue should be so across the entire background. The more consistent your background exposure is, the easier your key pulling and exporting will be. Two strong LED panels set right up against either side of our background do the trick for us.
  • Take care of your chroma background – Any wrinkle or crease in your background has the possibility of making your key more difficult in post. Imperfections create shadows that can slightly alter the color, hue, saturation, and luminance in certain areas. These imperfections require your key to account for a broader range of color values around the green that you will eyedrop in the first step of post-production. Depending on the power and setup of your keying process, minor imperfections may not be a problem. However, ensure perfect keys as a professional by keeping your backgrounds rolled up nicely when not in use (the slower you roll/unroll them, the more you’ll avoid involuntary wrinkles and creases). 
  • Subject’s hair – Bring products to help contain, straighten, or flatten your subject’s hair. If your subject has lots of frizz and fly-away hairs, the edges of your key around the subject’s hair could show through, and visual chatter (keying noise) could present itself. Hairspray and a straightening iron have saved us in the past. You’ll avoid many headaches if you pay critical attention to this the entire time you’re filming.
  • Subject positioning – Place your subject as far away from the background as possible to limit the light reflecting from your chroma key onto your subject. This goes for your lights as well (the ones not dedicated to lighting the chroma background). However, keep in mind that your subject’s arms should still be within the limits of the scene, even when gesturing. Depending on the size of your studio, you can play with focal length and subject positioning to get the right balance between distance from the background and having sufficient green space around your subject. Remember, no matter where you put your subject, every part of their body has to be within the confines of your chroma background. Have your subjects move around a little bit and wave their arms to the sides to ensure that no gesture/movement will exceed the boundaries of your background. If a hand breaches the edge of your green screen, for example, you will have to rotoscope (an advanced masking technique) that hand for every frame in which there is no chroma background behind it. You could also scale in to cut off the arms of your subject entirely and hide the error.
  • Shoot in 4k – It’s a good idea to shoot in a higher resolution than you will be exporting in. We ship most of our content in 1080p, but we shoot all of our green-screen content for online courses in 4k, so we have enough resolution to scale up into our subjects as a “second-angle” with no quality loss. Filming in 4K resolution also gives us room to resize and reposition our subject while editing to accommodate on-screen graphics.
  • Film in 30 frames per second (fps) – Always shooting in 24fps for cinematic motion blur? Well, motion blur is your enemy in chroma-keying because the blur area as seen in a single frame is semi-transparent. Motion blue gives your renderer a more difficult time deciding if it should altogether remove those pixels or not. Often, it won’t remove them, leaving behind a faint green streak around fast-moving parts of your subject, such as in a quick hand gesture. Bumping your camera to 30fps will help cut down on some of that motion blur. You can go even higher to 60fps, but keep in mind this may increase render times more than it’s worth, as there will be nearly twice as many frames from which to remove your chroma background. Nevertheless, if you aren’t shooting a still interview and rather a scene with lots of motion, 60fps could be a good option.

Chroma keying is a very important skill to develop in the video industry. To see an example of some online course work we’ve done with Duke Corporate Education or Tuck Executive Education, reach out here.
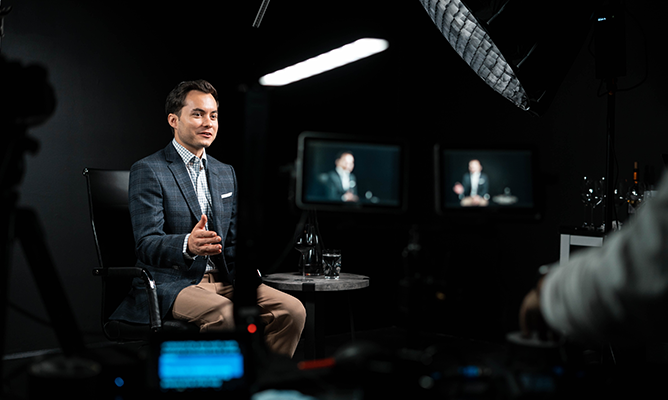
Looking for a new studio space: key consideration

I still vividly remember the day we first moved into our office on Franklin Street. 

The Studio

The studio space can be a crucial asset to your business if set up correctly. Video production can be a valuable tool for your business regardless of whether or not you run an actual video production company – from internal brand marketing videos to corporate training videos. Some considerations you should make when creating your studio space:

  • What size do you need?

First and foremost – as fun as it is to dream about shooting Mercedes car commercials or hip hop music videos in a giant green room for Drake in your studio space, it’s important to find a place best suited for your type of video needs. We shoot a lot of corporate, educational courses on a green screen / white background in our studio space, as well as interviews with companies and product commercials. So we don’t necessarily need a 50′ by 50′ room with 20′ ceilings. For that reason, something that’s anywhere from 600 to 800 sq/ft will be sufficient for us.

  • What’s the audio environment?

Are you by the airport? Is your room sound insulated? Audio is half the battle when creating video – make sure your space can accommodate the best audio environment possible or be reworked into an environment that won’t interfere with the audio quality of the room.

  • Is your future studio space air-conditioned or has a drive-in bay?

We’ve found many warehouse / flex spaces to have the warehouse space not be air-conditioned – you don’t want studio shoots not to have the optimal climate for the sake of the longevity of your camera gear and the comfort of your clients. Additionally, a drive-in bay can be hugely helpful if you’re frequently loading and unloading heavy gear. Walking up and down a long set of stairs with thousands of pounds of camera equipment, neatly organized throughout an army of pelican cases, isn’t the workout plan Daniel designed for our team.

Price

What’s your budget? Define how much you are willing to spend annually, then monthly, as a function of your projected and contracted revenue. Your office space is vital to the vibe of your company, your team’s collaboration, and your company’s brand image, so you must be in a space you enjoy while also not stressing about paying your rent every month.

If you do a quick Google search online, many places advise allocating around 30% of your gross revenue towards your rent. I think that’s a little on the high end. How much you pay in rent can vary from business to business. Still, we’ve found that spending around 10% of our annual revenue on rent can very comfortably accommodate our needs and more. Start your search with a conservative budget and stretch it as needed.

Location

I think we’ve learned in a post-COVID world that work productivity can be dynamic and flexible between working in an office and remote. However, there’s just that irreplaceable feeling of being in the office for a team like ours. Since our team now lives in Raleigh – our commute to Chapel Hill can take up to two hours each day. That adds up over time. The location of our new office will ideally be within 20 minutes of driving distance each way for our team. 

Also, just like you probably won’t buy your perfect home in a bad-looking neighborhood, make sure to attribute some value to the surrounding area of your potential space. We’ve ruled out a couple of excellent options because the surrounding area didn’t feel right for various reasons outside of our control.

Size / Layout

With about 900 total square feet between our three significant rooms – studio, open office, and conference room – we’ve had enough space to accommodate our current needs. However, with the potential for new hires and projects this year that require a more extensive studio set, we figured it was time to size up. 

For video companies, what works best isn’t necessarily a flat layout with office spaces, but rather what’s referred to as a flex space. These units have office spaces with a large warehouse attached, which can be transformed into a studio. 

After seeing many spaces and working out of the same office for three years, we’ve concluded our optimal future layout as follows: a ~2000 sq/ft unit with open office space, break room / kitchen, conference room, two bathrooms, and a large (>600 sq/ft) conditioned studio space with high ceilings and sound insulation.

After researching and discovering many of these essential aspects of our potential new space, I hope that this can be a valuable set of considerations for anyone looking to take the next step in their business growth. Being right next door to our good friend and mentor, Jim Kitchen, has been both fun and invaluable the past few years. While we will miss him and all the memories we’ve made here dearly, we look forward to what’s in store for the future.

Structured Collaboration in Video Production

Time and time again, we’ve heard how businesses have been frustrated with communication and collaboration with their engagements. One of the worst situations you can find yourself in as a creative professional is to deliver a finished project and miss the mark somehow. On the flip side from the clients’ perspective, they’re simply seeking to make sure money is being allocated wisely and meeting their project’s vision and goals. Here are some tangible ways to make sure that both parties walk away happy following a project’s completion.

Outline expectations before you engage

One of the easiest mistakes made in a client / agency partnership early on is jumping into a project or relationship without better understanding each other’s wants and needs on a deeper level. Without focusing these initial conversations on discerning whether you’re the right fit for each other, you can set yourself up for a world of pain down the line. 

Fit is everything. 

That covers your ability to perform for the client’s needs and encompasses how you can work with one another based on your likes, dislikes, and ways of communication.  Realizing personality misalignment after you sign the contract is preventable if you transparently discuss your working preferences / styles beforehand. Sometimes it’s better to let the client go and refer a trusted professional in your network instead if you know you both aren’t a good match.

Comprehensive pre-production is your best friend

The importance of planning is ubiquitous in daily life. Whether it’s planning your workweek, a trip to the grocery store, or your next vacation, diligent planning will almost always breed favorable results for both parties involved. This importance could not reign more true in video production.

Over time, we’ve come to understand the positive impacts of highly detailed pre-production throughout the production process. It’s arguably the most crucial step. Depending on the scope of your video project, include some or all of the following in your pre-production plan to ensure buttery smooth alignment between you and your client’s vision. The purpose of these documents should be to allow the client to visually understand the creative ideas you are pitching.

Creative Brief

  • A creative brief is a document that aligns you and your client’s vision for the project based on your goals, brand messaging, mission / vision, target audience, and intended distribution.

Project Timeline and Budget

  • Your project timeline and budget should outline all your proposed deliverables and on what dates the client should expect them, with associated costs for each.

Shot List

  • A detailed plan for each shot you will be capturing in each location with creative notes for each shot.

Storyboard

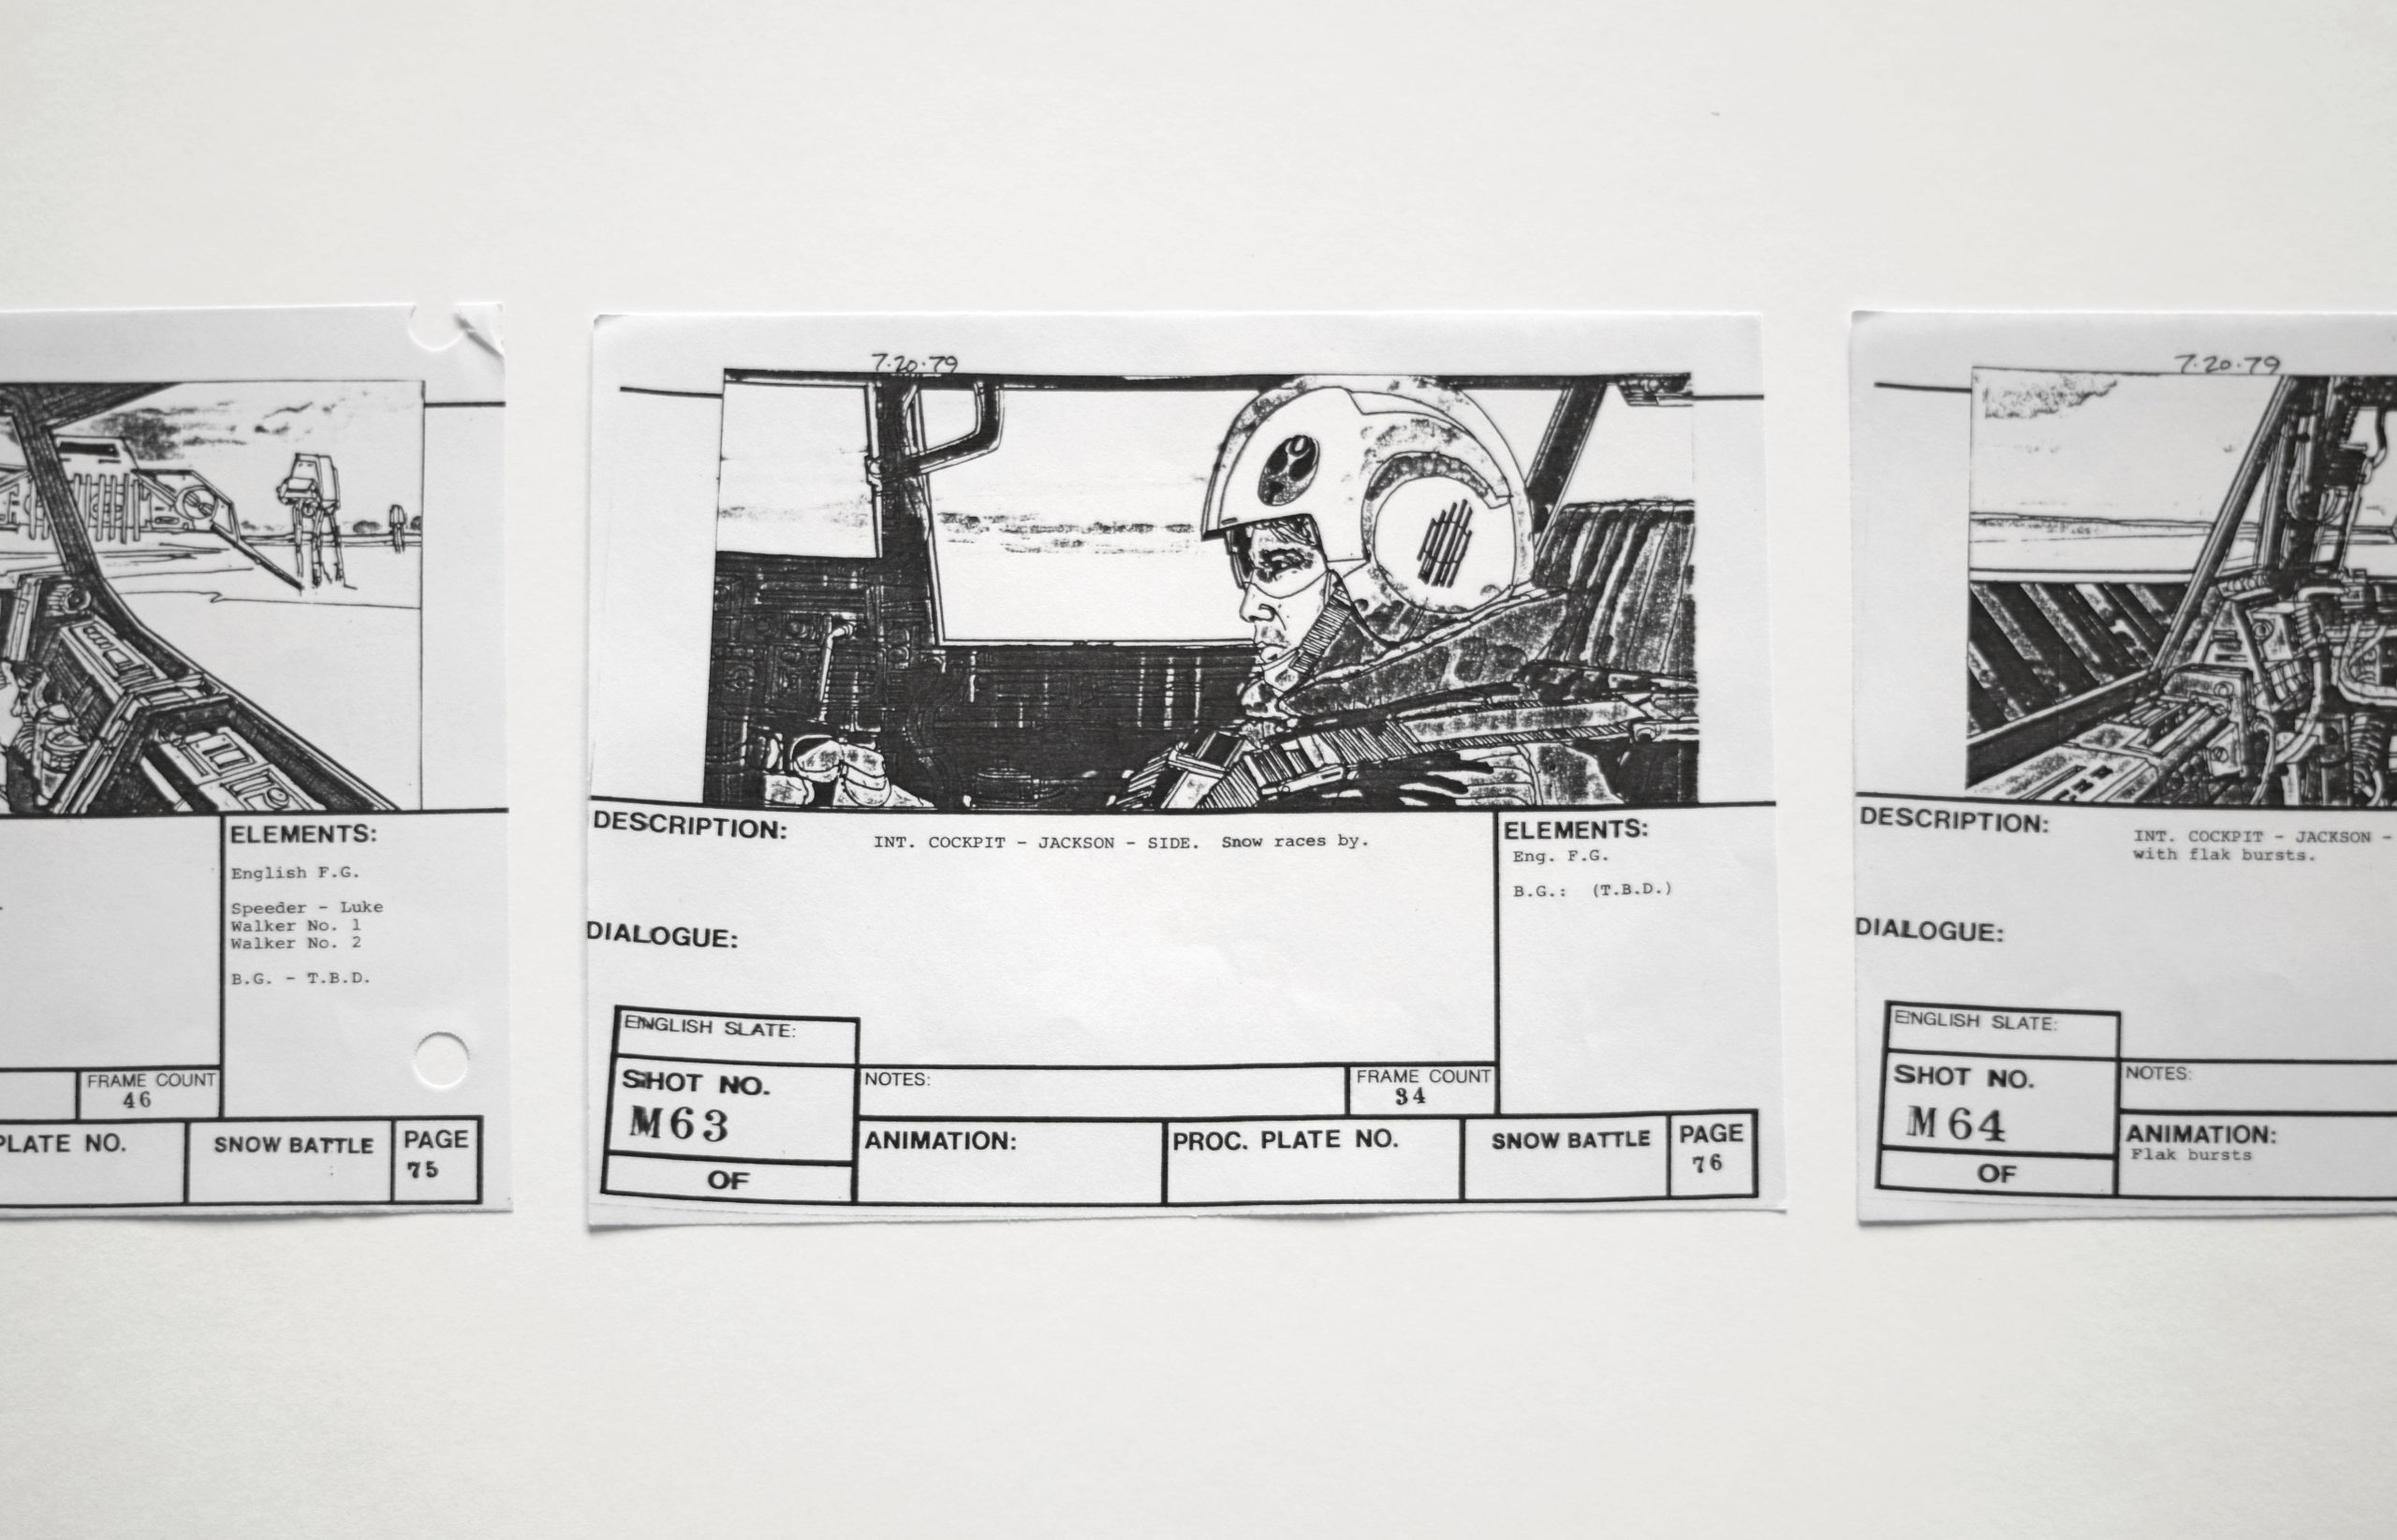
  • A storyboard provides your client an initial idea of what the final deliverables will look like – it can be hand drawn or created in a software program like Adobe Photoshop or Adobe Illustrator. Your storyboard doesn’t need to be perfect, but should give you good direction on what the final project will look like.

Film Schedule

  • Your film schedule dictates the structure of your day, and makes sure you will be able to stay on track and capture everything you need to create your final deliverables.

Attention to all of these different parts of your production planning will increase your client relationship’s professionalism, set you apart from your competition, and make sure you’re ready to go on film day. Do your best to be as flexible as possible with the recommended list above – scope and details can change throughout the engagement.

Show up with confidence, professionalism, and poise

When we would upgrade our gear during Triad’s early stages, continuously implementing more refined, complex techniques, I still vividly remember some of the feelings I had. There was this fear lingering in the back of my mind that nothing would work as we had practiced. 

It’s easier said than done, but work your hardest to leave any negative thoughts at the doorstep. Channel your inner Steven Spielberg when you show up on set. The confidence you carry will bleed into people’s behavior and performance as well. 

Here are some ways you can up your confidence and professionalism without even thinking about it:

  1. Split up roles accordingly – each member of your team / crew should have a specialized function for the shoot day and stay within their lane (i.e., The Director isn’t worried about making sure lunch is on the way – the Producer is). This practice will help avoid any confusion throughout your shoot, both internally amongst your team and externally towards the client.
  2. Have your team coordinate outfits, whether it’s a consistent dress code across your crew or a company t-shirt that you all can wear.
  3. Show up earlier than you planned for and budget extra time for setting up your gear. Downtime on your shoot day is a far better problem to have than playing catch up and rushing to get the footage you need.
  4. Please print out your shot list, storyboards, and schedule and have extra copies for yourself and your client on hand. Check off items as you capture them to make sure you’re not behind throughout the day.

Provide updates and set yourself up for version control in post

Now that you’ve nailed your shoot day, somehow managed not to lose your SD cards, and backed up your footage, you’re ready to put it all together and make your client proud. Within post-production, there are many considerations across the editing process to be mindful of, including file organization, assembly, sound design, color correction, and visual effects, to name a few. All of these will come together to create your final product. You want to set yourself up for simple version control to allow for any changes to these specific parts in the future. This can consist of very detailed file naming and organization or keeping copies of your project versions any time there are changes to be made. It’s also helpful for your marketing purposes down the line when showcasing your work!

Remember when I said pre-production is probably the most critical step? That’s because what you want to avoid is a laundry list of revisions. Drastic revisions can turn you and your client sour, and that’s what clear communication from Day 1 helps to mitigate. 

We use a fantastic video collaboration tool for version control and revision management called frame.io. For example, it allows for professional delivery of files and specific revisions to be placed directly on timecodes within the video. 

Clear and consistent communication throughout your entire project engagement is key to the project’s success and fostering a positive relationship between you and your client. Trust each other, make it a collaborative effort, and maintain strong attention to detail each step of the way. A happy, raving client can have cascading effects for your business down the road.

Building a Production Studio

Suppose you’re looking for a space to amp up the quality of your photos and videos. In that case, you might be thinking “I’m sick of taking photos in the corner of my bedroom.” You need a dedicated studio space and it’s easier to set up than you’d think.

The quality of your visuals isn’t only about the equipment you use to capture them, but also the environment you’re shooting in. A DIY studio tailored to your creative needs is one of the first steps to upping your camera game. 

We’ll be giving you advice on what you’ll need for your studio across three key categories. 

The Visual: Controlled Lighting and Backdrops

If you can paint your studio walls, choose between white, black, or gray. These are the most useful colors across a variety of video styles and looks. You can always use a backdrop to change your frame’s background, so choose a wall color that you think you might use in the majority of your shots. We chose black for our studio. Do we always shoot everything with a black background? No. But we knew that we generally loved dark backgrounds and cinematic shadows on our subjects, especially in an interview setting. Black will give you depthless corners as it absorbs light, but you may need to use more ambient light to brighten backgrounds. White, on the other hand, is much more reflective and is a popular choice for large studios. Knicks, scratches, and dirt may stand out more on white. 

We love to use a white background in interviews and photos, but recognized in those scenarios, we need an entirely white background and therefore, we’d rely on a new paper/vinyl roll. Our black wall has texture and minor imperfections that come together as a uniquely stylistic background. 

You may also want to consider gray for your walls if you want a more neutral color that isn’t too reflective or too absorbent of light. Gray is a good option if you plan on only shooting against paper/vinyl backdrops unless you like gray as a background for your shots – not us. 

The Audio: A Professional Acoustic Environment 

If you’re recording any audio, you have to focus on the acoustic environment. What people see is often influenced by what they hear. 

First off, if you have the choice of location for your studio, choose a spot that is away from busy roads and areas that may be close to businesses that may warrant construction and other uncontrollable factors. If you choose a room that’s a part of a space you already own, choose one that is away from loud air ducts, HVAC units, or other noisy machines like a washer and dryer. Audio can travel easily through walls, and sensitive mics can pick up that noise even better than your ear can. You’ll save yourself a headache in post-production if you don’t have to take out background noise that you could’ve avoided in the first place. 

So let’s say you have a room that’s isolated from noise as much as possible. You can still take additional measures to make a professional acoustic environment. Bare walls, tile floors, and glass windows can be acoustically reflective. You may hear a high-frequency reverb when you clap or a constant echo when you speak. Add acoustic panels to the walls, cover any glass windows with an acoustic blanket, and use carpet where possible to reduce sound pinging off the confines of your studio and back into the mic. 

Space: Storage, Organization, and Set Mobility

If you need a small photo studio for simple product shoots and social media posts, you may not have a plethora of equipment. However, it’s likely that if you’re reading this article, you probably have more than just a few pieces of equipment. If you can make it happen, it’s always great to have as much space for your studio as possible. More space leaves room around your backdrops to put pieces of your set like lights, c-stands, mics, and tripods. 

Extra space also allows you to store, organize, and secure your equipment neatly. Camera assets usually have a variety of cables, batteries, and miscellaneous items that can add up. Every piece of equipment, no matter how big or small can be crucial to your shoot. You need space to organize your gear, so you never have an uncharged battery or a missing cable before a big shoot. We use a husky workbench to keep batteries and cords and secure expensive assets like cameras, lenses, and audio equipment. On top of that cabinet, we have all battery chargers separated with labels and bins for uncharged batteries. 

Do you have to keep your equipment in your studio room? No. We like to keep most of our assets right in our studio because it makes an effortless flow between the set and the studio shoot equipment. We also have a computer in our studio dedicated to backing up footage and testing shots in the middle of shoots. We have the space for our assets in our studio without affecting the quality of our production. If that’s the case in your studio, we recommend doing the same.

Mastering interview audio

Oftentimes when starting out in video production and editing, many developing filmmakers tend to focus all of their attention on solely the visual components of their projects. However, the auditory experience is just as important for viewers as the visuals themselves. 

There are many different styles of video in the corporate and commercial video genres that require interviews to facilitate the narrative and flow of the story. For example, you may be crafting an overview video for a brand where the CEO is recounting the company’s founding story, or you might be producing a commercial documentary that requires interview footage with a high level of warmth and clarity. Whatever the situation, reducing background noise, equalization, and compression are the critical first steps to mastering interview audio.  

Noise reduction and audio restoration

Unless you only record interviews in a room covered with acoustic foam and your equipment makes no noise, you will need to reduce the background noise in your recording. Lights, monitors, and HVAC units are just a few examples of often unavoidable sounds that can create consistent hums and buzzes outside of a controlled studio. 

When applying noise reduction to an audio clip, make sure you don’t reduce noise at the expense of the interview dialogue quality. The noise reduction effect takes a sample of consistent and unwanted frequencies and cuts them out of the overall clip. High noise reduction levels can potentially cut out too many frequencies which can lead to dialogue having glitchy artifacts or sounding robotic. Also consider that a clip recorded with a lavalier microphone may not need much noise reduction while a clip recorded with a shotgun mic may have more machine rumble or fan noise. 

For a more detailed explanation, check out this guide on Mastering Interview Audio that walks you through every step of the noise reduction process in Adobe Audition. 

Equalization (EQ)

Equalization is the balance of audio across different frequencies. The human ear can recognize sounds between 20 Hz and 20,000 Hz. Different ranges of frequencies are responsible for certain acoustic qualities in a vocal. These ranges will vary slightly depending on the timber of the subject’s voice. For example, most of the fundamental frequencies for a female vocal will typically reflect higher frequencies than for a male vocal. 

Regarding the EQ of interview audio specifically, your attention should be generally focused on shaping the following range of frequencies to achieve different acoustic effects:

  • Low end rumble in the low lows (~0 Hz – 100 Hz):
  • It is likely that any frequencies recorded below ~100 Hz are due to machine rumble or other vibrations that are not crucial to any quality in the vocal. Use a sharp low cut (high pass) to eliminate these from the recording. Refer to the following picture:
  • Warmth in the lows (~100 Hz – 300 Hz):
  • The majority of bass in a vocal lies in this range and is largely responsible for the overall warmth in the vocal. Try adding 2-6 dB in this range if you need more warmth. But be careful; too much warmth in a vocal can make it sound boomy. Think of your mic placement; a vocal recorded with a lavalier mic placed on a subject’s chest may already have good coverage in the lows and may not need to be increased. Your EQ curve with a slight boost of warmth may look something like this: 
  • Clarity in the mids and high mids (~2 kHz – 8 kHz):
  • This range includes fundamental frequencies in the intelligible parts of a vocal. Sibilant sounds from different consonants such as -f’s, -k’s, -p’s, and -ch’s will lie in the upper portion of this range. Boosting them could add clarity to the meat of the vocal. Play around with EQ nodes in this range by boosting or decreasing different frequencies to identify the portions that accentuate or detract from the majority of the vocal. For example, boosting a portion of mids/high mids may add some drive and clarity to the words of the subject, but too much could lead to a harsh-sounding vocal as if it were coming through an old telephone. Additionally, notching out a small selection of low mids or mids may actually allow the more crucial mids to shine through. Your EQ curve could look something like this:  
  • Crisp airiness in the highs (~10 kHz – 20 kHz):
  • This range is largely responsible for the clarity of the overall recording. The lower end of this range is home to the most sibilant sounds such as -s’s and t’s. The upper end affects the sheen and/or airiness of the overall vocal. Adding a high shelf with a 2-6 dB increase in this range can add a professional touch to the crispiness of the recording. Your EQ curve may look something like this: 
  • Unwanted artifacts and buzzing in the high highs (20 kHz – 40 kHz)
  • This range is not crucial to any part of the vocal as the human ear does not recognize frequencies above 20 kHz. If you have a buzzing from a light, a faulty cable, or interference with your wireless transmitters, for example, they may be found in this range. In the picture above take notice of the spike in levels around the 32 kHz – 35 kHz. We know we don’t need that frequency. To be safe we should take it out with a high cut (low pass). We could also notch out this frequency with a normal node, but considering that frequencies above 20 kHz are not crucial to the vocal, we will use a sharp high cut. Refer to the picture below: 

Remember to consider mic type and placement when mastering the EQ of a vocal. Different mics have varying propensities to capture certain frequencies of audio better than others. A shotgun mic may have better sounding highs which lead to crisper audio, but it may also be lacking some lows. A lavalier mic on a subject’s chest may pick up warm lows but may need a boost of clarity in the highs. Overall, you want to make subtle adjustments that add missing vocal qualities or remove unwanted frequencies.  

Multiband compression

Generally speaking, compression amplifies low dB levels and reduces high dB levels based on a given threshold across a range of frequencies. Think of compression like you’re squeezing really loud sounds and really low sounds together to make a more consistent vocal volume across all frequencies. Multiband compression is a specific type of compression that allows you to change compression of different bands of frequencies giving you a more fine-tuned compression across all audible frequencies. It’s more advanced than throwing on a single-band compressor and tightening all frequencies and their levels together. 

A typical multiband compressor will have 4 adjustable bands of frequencies that allow you to individually adjust compression for lows, low mids, high mids, and highs. See how the bands in the image below are separated by three white lines. Within each band, you can change settings for threshold, gain, ratio, attack and release. For all bands, there will also be some form of output gain and limiter to amplify and/or squash your compressor’s overall dB level. 

Multiband compressors not only smooth out audio dB levels across frequencies, they also add power and drive (or remove such) to the vocal. Need some more apparent warmth in your clip? Add 1 or 2 dB of gain to the low mid band. This will drive the low mids. Are the “-s” sounds a little too harsh on your ear with the compressor on? Take away 1 or 2 dB of gain in the high band and maybe increase the threshold. For a more in depth look into how to use a multiband compressor and all of its features, check out our guide Mastering Interview Audio

Conclusion

In mastering your interview audio, it is critical that you use noise reduction, equalization, and multiband compression for crispy clean audio at minimum. Remember that there are a number of other effects that can be useful in mastering interview audio such as dereverb, desser, click remover and hard limiter. Paying attention to certain frequency ranges in your equalization and compression will allow you to control the feel and quality of your audio the same way you do your visuals.

What Does a Video Cost?

When you work in the creative space, it’s often exciting to get caught up in the grand visions of things you want to create, and even more invigorating to get others inspired about your ideas. The only thing that stands between you and your vision is one question. Sooo…how much is it going to cost?

The solution with video production is to not necessarily sacrifice quality for cost. While there are a multitude of factors that affect the cost of video production (equipment, number of filming locations, etc.), the solution isn’t to create a high quantity of low quality content. Instead, in order to build a strong, positive brand image, focus on using your budget to create fewer but more effective high-quality videos. This will undoubtedly increase the long-term value of your company and brand.

Video companies price their creative projects differently, and they all do what works best for them. When pricing a project you always want to maintain a high level of transparency and low level of ambiguity in your pricing. The most important thing is keeping your client’s trust.

Many freelancers / video companies will say a number that sounds right but truly has no meaning behind why it’s what they charge. A system that outlines why you charge what you charge will make all parties happier on all fronts. 

So How Much Does Video Cost?

The short answer is that it depends, and will vary from project to project. Dozens of factors go into the cost of making a video, and projects can range anywhere from $3,000 to upwards of $200,000 (unless you’re looking on Fiverr). Cost will always depend on the type of video you’re looking for, the location / number of locations, crew, equipment, talent, amount of pre-production, VFX, motion graphic animation, post-production, sound, color, timeline and even more. The best way to get an idea of how much a video you are looking to make costs is to draft a creative brief or hop on a discovery call with a production studio. This will provide a better understanding of what, where, when, why, and how you want the video to be produced. 

Once the goals and scope of the video are established, the production company will have a definitive idea of what it will take to produce the project.

Pre-Production:

Pre-production can include script writing, location scouting, scheduling and logistics, and creative brand strategy. The scope of what the client will provide versus what the production studio will provide often factors into the cost of the project.

Production:

This is where the actual filming takes place. This is directly linked to day rates – how many days a crew will need to be on-set to capture all of the necessary footage for the production. Day rates include all the time spent on set, creative direction, and gear costs. Day rates in the industry can range anywhere from $1500/day up to upwards of $5000/day for more premium shoots.

As a separate note, half-day rates are never a direct 50% of the cost of a full-day rate due to the studio sacrificing their ability to schedule a production on the other half of the day.

As a piece of advice, it’s always best to consolidate as much filming for as much content in post-production as possible in a single day since videographers charge by the day for filming.

Post-Production:

This is where the story comes together, and where the magic truly happens. Depending on the complexity of the vision you’re trying to bring to life, make sure to budget for various components of the video whether it be visual effects, motion graphics, or multiple rounds of revisions. Note that studios may charge a lot more for more drastic revisions outside the scope of the agreement; this could include a change of music, story change, or additional filming.

Different Pricing Models:

Some studios price out each individual element of the project a la carte, and charge a premium on top of those costs for their time and expertise. Other studios have the ability to produce the project with their internal capabilities as they have all the equipment / personnel needed to bring the project to completion. Some studios and freelancers charge flat rates for projects based on their experience, and others quote based on the estimated number of total hours at their dollar per hour rate. 

Regardless of the way that you price it’s most important to be transparent about why you’re charging what you’re charging. 

Need a quote on a video project you’re looking to bring to life? Feel free to reach out at triadstudios.co/contact.

Educational Wine Courses With Ryan Vet

We’ve partnered with celebrity sommelier, Ryan Vet, to create a series of educational courses about wine. The United States alone consumes almost 1 billion gallons of wine a year and wine consumption is growing at a rapid rate.

Join Ryan as he takes you on a journey through the basics of wine in this Wine 101 course. In this crash course, we tackle some of the most basic building blocks of wine and answer some of the most common questions. Whether you are just exploring the world of wine or want to be a bit more educated with a few facts about vino, this course is for you.

https://lnkd.in/gAJN2zV

Elon University – Alumni In Action

Ryan Vet ’13, Michael Thomas ’20 to highlight small businesses with new TV series. In an effort to put small businesses in the spotlight during the COVID-19 outbreak, the team’s pilot episode of Sip’d will air on April 9 and focus on local craft beverage artisans in Durham, North Carolina.

Elon alumnus Ryan Vet ’13 and Business Fellow Michael Thomas ’20 are releasing their new reality travel television series ahead of schedule in an effort to put small businesses in the spotlight during the COVID-19 outbreak.

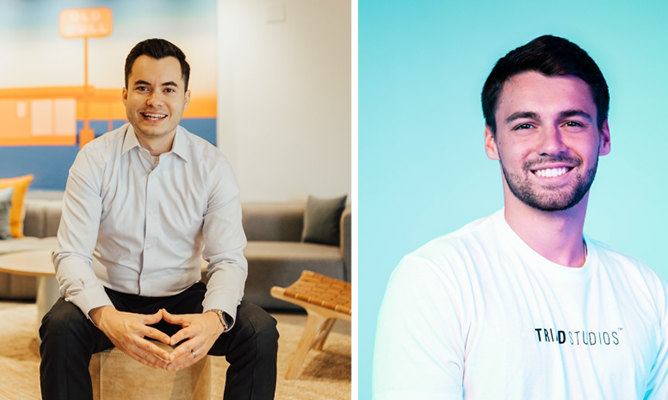
Ryan Vet sitting and headshot of Michael Thomas
Ryan Vet ’13, left, and Michael Thomas ’20 hope to bring attention to small businesses through new TV series Sip’d.

In September 2019, Vet partnered with Triad Studios, a media production company co-founded by Thomas, to produce Sip’d, an episodic show exploring craft beverages around the world. Each episode will feature a different city and highlight local craft beverage artisans, including coffee roasters, tea rooms, distilleries, speakeasies, cocktail bars, meaderies, craft breweries and wineries.

With filming suspended due to the COVID-19 outbreak, the Sip’d team spent the past few weeks finalizing the pilot episode in order to release it early on April 9. The team hopes it will help bring attention to small businesses while providing entertainment and education during this time of social distancing.

“Due to the recent outbreak, many beverage purveyors and curators have had to furlough their team members and temporarily shut operations down entirely,” show host Vet said. “With $376 billion allocated by the federal government to aid small businesses during the COVID-19 pandemic, it is no secret that small businesses are crucial to the American economy.”

The pilot episode, featuring Durham, North Carolina, will livestream April 9 at 8 p.m. EST at sipd.tv. It will not be available for viewing again until the complete series is released later in 2020.

Sip'd for the love of craft

Vet is a co-founder of The Oak House, a coffee shop and bar located in downtown Elon and Durham, North Carolina. He is actively involved at Elon as an advisory board member for the Doherty Center for Creativity, Innovation and Entrepreneurship and through guest speaking in classes.

Vet met Thomas, a finance and marketing double major who serves as Triad Studios’ creative director, through this project.

“We began Sip’d with Ryan to learn more about the industry and grow as a studio,” Thomas said. “It was a unique opportunity for us to explore a different type of video content, which allowed us to push our creativity throughout the production. We’re extremely happy with how the relationship and series has progressed so far and are looking forward to learning, traveling and creating more very soon.”

Thomas is currently finishing his coursework remotely and will continue to grow Triad Studios after completing his studies next month.

Elon University – Elon Innovators

Michael Thomas ’20 crafts digital video content to enhance clients’ online brand identity. Following his passion for media production, Thomas co-founded Triad Studios two years ago and serves as its creative director.

Michael Thomas ’20 co-founded the media production company Triad Studios LLC in early 2018. The business, headquartered in North Carolina, focuses on showcasing clients’ purposes and visions through engaging and high-quality video stories. In two years, Triad Studios has completed more than 100 projects for a list of clients that includes university institutions, corporations, large nonprofits and commercial lifestyle brands.

Thomas, a finance and marketing double major from Cary, North Carolina, is the second person to be featured in a series of Today at Elon profiles highlighting student innovation and entrepreneurship. The senior Business Fellow takes an active role on video production as a creative director, while managing operations like internal processes, metric tracking and quality control.

He recently answered questions from the Martha and Spencer Love School of Business about his company, experiences and visions.

When did your interest in entrepreneurship begin?

I’ve always been interested in entrepreneurship. Something about working for myself and building a meaningful, impactful company has always driven me to pursue this type of career. I started Triad Studios, a media production company specializing in videography, roughly two years ago with four other co-founders – Baaqir Yusuf, Tristan Gardner, Justin Fouts and Daniel Pan. The company has grown exponentially over the past two years as we’ve completed over 100 different projects for various clients across the country in Maine, Ohio, Texas and more.

What inspired you to found Triad Studios?

All the founders have a strong passion for videography and business. We were all primarily inspired by content on YouTube which we paired with our business degrees to ultimately form Triad Studios.

How did you go about creating your project and launching your brand?

We started out by doing a lot of pro-bono and small budget projects for clients to begin building our portfolio and continue developing our skills. We continued to increase our prices, improve our services and reach out to new clients over time.

What has been the greatest challenge you’ve encountered as an entrepreneur?

There have been many challenges in the startup growth phase – managing emotions in various situations, managing projects and work with the entire team being full-time students, onboarding and training new employees, standardizing the quality of our work amongst new employees, meeting crazy client expectations, etc. For me the biggest challenge has been managing the growth of the company while still in school. Balancing work, school, and a social life is hard but possible if you’re passionate about what you’re doing and prioritize the right things. Last year I was still playing soccer for the varsity team at Elon while going to class and traveling to work in the evenings. It came with a lot of stress and not a lot of sleep but this sacrifice is now beginning to pay off.

What has been a key factor in Triad Studio’s success so far?

The passion and commitment of each of the company’s founders have truly driven the success of the company. Each founder brings a unique personality to the team which has built a collaborative culture and enabled the growth of the company so far.

How have your experiences at Elon helped prepare you to run Triad Studios?

The business school program has enhanced my skills as a business professional which have been extremely helpful for client interactions, business strategy, and various other administrative tasks.

What is next for you and your company?

We want to open a studio in Raleigh sometime in mid-2021. We don’t have plans to expand the number of team members currently, however, we are always actively searching for more clients and projects – especially ones focused on long-term brand strategy and development.

What is your advice for your peers who are interested in starting a business?

Pursue your entrepreneurship goals as early as possible. You can always find time for what you’re passionate about and the best time to take risks is when you’re young so there’s no reason to wait.

Abandoning The Conventional

Jonathon Cook took time to write a brief story about our company. Jonathon has supported Triad since the beginning and it’s extremely exciting to see him grow as a writer. This piece focuses on Baaqir Yusuf and entrepreneurship.

On a brisk Sunday afternoon in Chapel Hill, most UNC students are doing homework, relaxing, or even nursing a hangover after a Saturday night out. Baaqir Yusuf and the rest of Triad Studios––a creative media production agency started by five college students––have been in their Franklin Street office for hours.

Tucked away between Julian’s and Underground Printing on Franklin Street, one might on first glance miss the small entrance labeled “JimKitchen.org.” The wooden doorway is so small that it’s not surprising that the official address of the building is 1/2 133 E. Franklin St. Although unassuming from the outside, inside there is a flurry of activity.

Silence. Foot tapping. Fingers locked behind heads, leaning back in chairs, staring into space.

Yusuf reads from his computer, “At Honors Carolina, you get your education from the world around you––”

“Wait, wasn’t there a line about the Board of Advisors?” Tristan Gardner, one of the other founders interjects. “Let’s put something like that in there, ‘your personal board of advisors for the real world.’ ‘Between the faculty, staff, and…industry mentors? Industry leaders?’”

“‘Industry mentors’ is good,” Yusuf responds.

Gardner repeats, “You’ll have a personal board of advisors for the real world.”

Yusuf’s eyes light up. “Yeah, I like that. I like that. ‘Between faculty, staff, and industry mentors, you’ll have a personal board of advisors for the real world.’”

In one room of the office, Yusuf and Gardner are bouncing ideas off one another for a script accompanying a flagship video production for Honors Carolina. In an adjacent room, two of the other founders, Daniel Pan and Justin Fouts, sit poised, finishing the post-production for a new television show exploring craft beverages called Sip’d.

Yusuf could scarcely imagine he would be where he is now three years ago when he walked through the Pit in the middle of Carolina’s campus and saw the Adobe Creative Cloud tent. He picked up a frisbee and gym bag, thinking little of it.

“I got back to my dorm and thought, hold on, this is kind of cool,” Yusuf said. “I’ve always wanted to learn Photoshop.”

After racing through a 20-hour photoshop fundamentals tutorial, he began tinkering with Photoshop. It was great, but something was missing; he was using others’ photos. What if he could use these skills, but with his own photos?

Then came his first major investment: a $400 Nikon D3400.

“My mom was like, ‘I don’t know, do you think you’re gonna use it? I don’t think you’re going to use it.’ And I said, “I’m going to prove you wrong,” Yusuf remembers.

Keeping his vow, he spent numerous weeknights photographing Raleigh until the early hours of the morning with his childhood friend and future co-founder, Daniel Pan. The early years of their friendship remain especially poignant for Pan in light of their relationship now.

“He was always top 3––not much to say in third grade––but top 3 smartest kids in our grade. But that never really mattered that much to me,” Pan said. “He was always a people person. When we were 8 years old, it was his house where we were going to play basketball, or he’d be out and gather the troops so we could play soccer in someone’s backyard.”

The Raleigh nights these old friends spent together began to sow seeds of doubt in Yusuf’s mind about where his future lay. Until then, Yusuf had told his parents he would be a doctor, a point in which they took pride.

“My mom always wanted to be a doctor, but she couldn’t for various reasons,” he explains. “She was like, ‘yeah, my son’s going to be a doctor, it’s going to be awesome.’”

After completing a research internship in which he shadowed a radiation oncologist in Greenville following his freshman year, he realized medicine didn’t offer the lifestyle or path he desired. Above all, Yusuf desired the freedom and ability to cultivate the enjoyment he got from meeting new people.

Exploring their options, Baaqir, Daniel and Michael Thomas––one of Baaqir’s friends from Panther Creek High School––started a brand inspired by their favorite travel videographers whose work they wanted to emulate. They called it Triad Studios.

The path to Triad wasn’t entirely straight or easy, however. Revealing to his parents that he would not be a doctor proved to be a very difficult decision. Family has always been a crucial value in his life, and one of his biggest fears is his parents’ disappointment.

The next best thing to being a doctor, Yusuf thought, would be investment banking or consulting. His studies in these areas, too, proved unsatisfying.

Despite his academic frustrations, the three friends had slowly tried to build a portfolio, working with small clients. But even this had slowed by the end of his first semester sophomore year.

They needed something else. Yusuf had worked for a startup part-time his first year––The Campus Cause––which sold discount key tags for businesses on Franklin Street. There, he met Justin Fouts, who shared his passion for people and also had interests in finance and sales.

At the end of the fall semester, Yusuf reached out to Fouts. Fouts, who had started a small brand with his friend, Tristan Gardner, called Flare Studios agreed to meet. In a Davis Library study room, Yusuf, Gardner and Fouts video chatted Thomas and Pan, proposing a joint venture under the brand moniker of Triad. They all agreed to try the idea when they returned from winter break.

“Baaqir was the only person that knew more than three of us,” Fouts said. “We blindly went into business together, and it turned out to be one of the luckiest things we ever did.”

Gardner, agreeing with Fouts, laughs, “We always call Baaqir the ‘king of Triad,’ because he brought everybody together. He’s all about connecting us.”

For six months, the five of them crowded around a single laptop in Gardner’s Carolina Square apartment, taking on any project they could get their hands on.

After speaking with Professor Jim Kitchen in the Kenan-Flagler Business School, Gardner secured the group their office, which provided the breakthrough and space needed to explore their creativity.

Now, two years later, business is flourishing. Triad has worked with over 60 clients in various industries, including university institutions, non-profits, and large franchises. After producing $82,000 in business in their first year and $270,000 in their second year, they’re poised to double last year’s revenue.

As a second semester senior, Yusuf recognizes the uniqueness of his situation from his peers. While others are networking and applying to corporate jobs, he is focused each day on chasing his vision. Even though the social pressure stemming from such a circumstance is unavoidable, he remains resolute.

“Triad has re-taught me that anything is possible if you put in the effort and anyone can do anything with the right focus,” Yusuf reflects. “I’m just an average person that worked his butt off with the right four people who also worked their asses off for the past two and a half years.”