Suppose you’re looking for a space to amp up the quality of your photos and videos. In that case, you might be thinking “I’m sick of taking photos in the corner of my bedroom.” You need a dedicated studio space and it’s easier to set up than you’d think.
The quality of your visuals isn’t only about the equipment you use to capture them, but also the environment you’re shooting in. A DIY studio tailored to your creative needs is one of the first steps to upping your camera game.
We’ll be giving you advice on what you’ll need for your studio across three key categories.
The Visual: Controlled Lighting and Backdrops
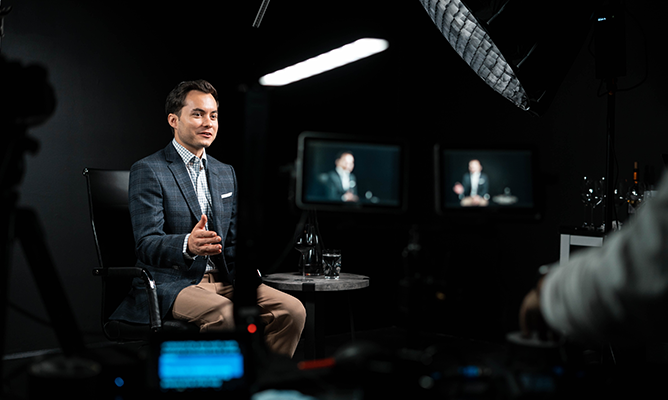
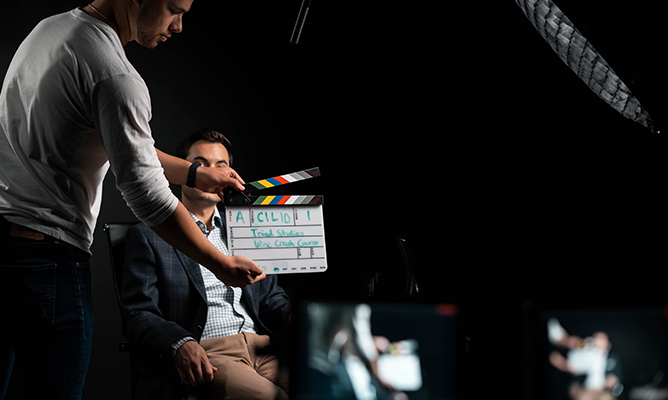
If you can paint your studio walls, choose between white, black, or gray. These are the most useful colors across a variety of video styles and looks. You can always use a backdrop to change your frame’s background, so choose a wall color that you think you might use in the majority of your shots. We chose black for our studio. Do we always shoot everything with a black background? No. But we knew that we generally loved dark backgrounds and cinematic shadows on our subjects, especially in an interview setting. Black will give you depthless corners as it absorbs light, but you may need to use more ambient light to brighten backgrounds. White, on the other hand, is much more reflective and is a popular choice for large studios. Knicks, scratches, and dirt may stand out more on white.
We love to use a white background in interviews and photos, but recognized in those scenarios, we need an entirely white background and therefore, we’d rely on a new paper/vinyl roll. Our black wall has texture and minor imperfections that come together as a uniquely stylistic background.
You may also want to consider gray for your walls if you want a more neutral color that isn’t too reflective or too absorbent of light. Gray is a good option if you plan on only shooting against paper/vinyl backdrops unless you like gray as a background for your shots – not us.
The Audio: A Professional Acoustic Environment
If you’re recording any audio, you have to focus on the acoustic environment. What people see is often influenced by what they hear.
First off, if you have the choice of location for your studio, choose a spot that is away from busy roads and areas that may be close to businesses that may warrant construction and other uncontrollable factors. If you choose a room that’s a part of a space you already own, choose one that is away from loud air ducts, HVAC units, or other noisy machines like a washer and dryer. Audio can travel easily through walls, and sensitive mics can pick up that noise even better than your ear can. You’ll save yourself a headache in post-production if you don’t have to take out background noise that you could’ve avoided in the first place.
So let’s say you have a room that’s isolated from noise as much as possible. You can still take additional measures to make a professional acoustic environment. Bare walls, tile floors, and glass windows can be acoustically reflective. You may hear a high-frequency reverb when you clap or a constant echo when you speak. Add acoustic panels to the walls, cover any glass windows with an acoustic blanket, and use carpet where possible to reduce sound pinging off the confines of your studio and back into the mic.
Space: Storage, Organization, and Set Mobility
If you need a small photo studio for simple product shoots and social media posts, you may not have a plethora of equipment. However, it’s likely that if you’re reading this article, you probably have more than just a few pieces of equipment. If you can make it happen, it’s always great to have as much space for your studio as possible. More space leaves room around your backdrops to put pieces of your set like lights, c-stands, mics, and tripods.
Extra space also allows you to store, organize, and secure your equipment neatly. Camera assets usually have a variety of cables, batteries, and miscellaneous items that can add up. Every piece of equipment, no matter how big or small can be crucial to your shoot. You need space to organize your gear, so you never have an uncharged battery or a missing cable before a big shoot. We use a husky workbench to keep batteries and cords and secure expensive assets like cameras, lenses, and audio equipment. On top of that cabinet, we have all battery chargers separated with labels and bins for uncharged batteries.
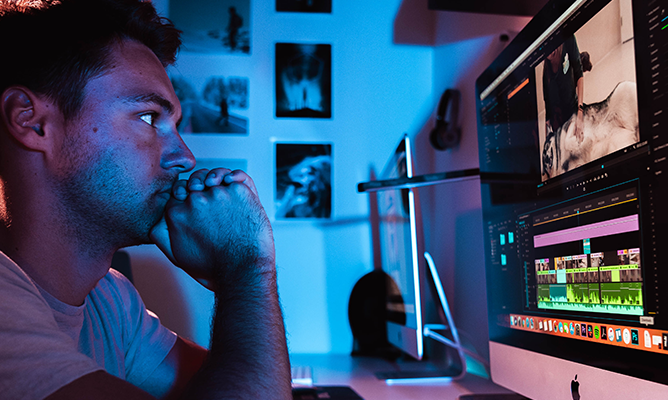
Do you have to keep your equipment in your studio room? No. We like to keep most of our assets right in our studio because it makes an effortless flow between the set and the studio shoot equipment. We also have a computer in our studio dedicated to backing up footage and testing shots in the middle of shoots. We have the space for our assets in our studio without affecting the quality of our production. If that’s the case in your studio, we recommend doing the same.


